The First Time I Made These Easter Nests
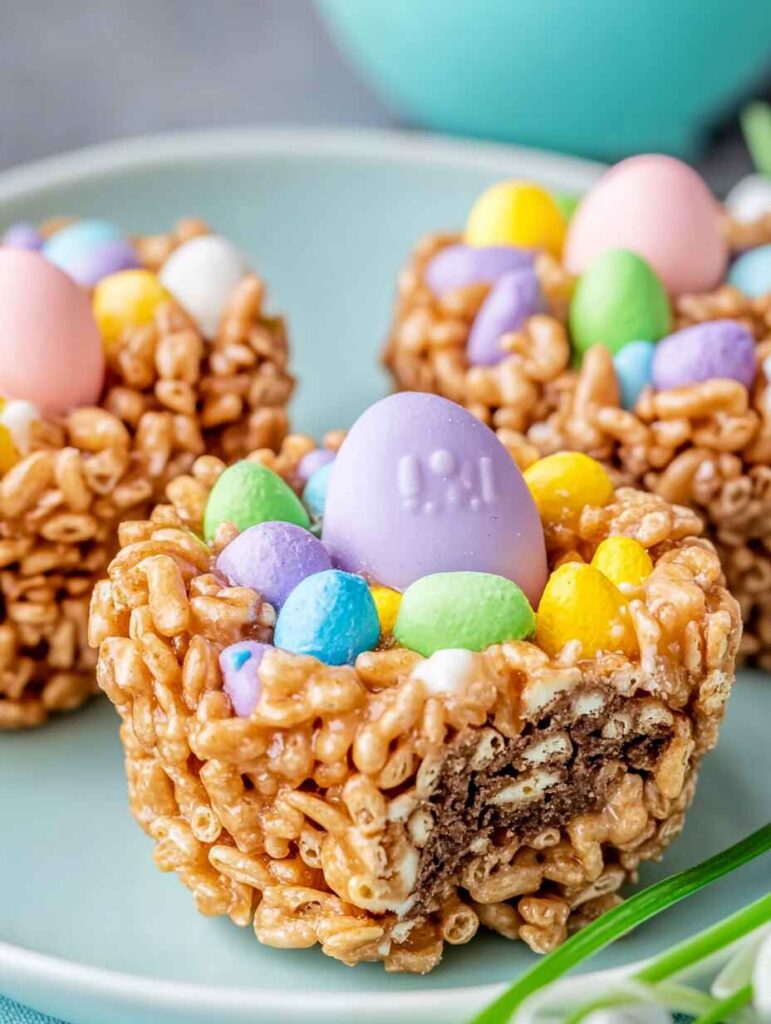
The first time I made these Rice Krispie Easter Nests, I was equal parts excited and nervous—could they really be as easy as they seemed? As it turns out, they were even simpler! I remember melting the marshmallows on the stove, sneaking a few bites of cereal along the way (oops), and laughing at how sticky my hands got while shaping the nests. When I added the colorful “eggs” to the centers, I couldn’t help but smile—it felt like I’d just created edible little works of art. Watching everyone’s faces light up as they grabbed one was priceless, and now this recipe has become a cherished tradition in our home every Easter season.
Table of Contents

Rice Krispie Easter Nests
Easter is all about bright colors, sweet treats, and family fun—and what better way to celebrate than with these adorable Rice Krispie Easter Nests? These no-bake treats are as easy to make as they are cute, making them perfect for kids, parties, or just a festive springtime snack. Plus, they’re totally customizable—so you can get creative with your decorations! Whether you’re a seasoned baker or a total beginner, this recipe will have you whipping up edible bird nests in no time. Let’s hop to it!
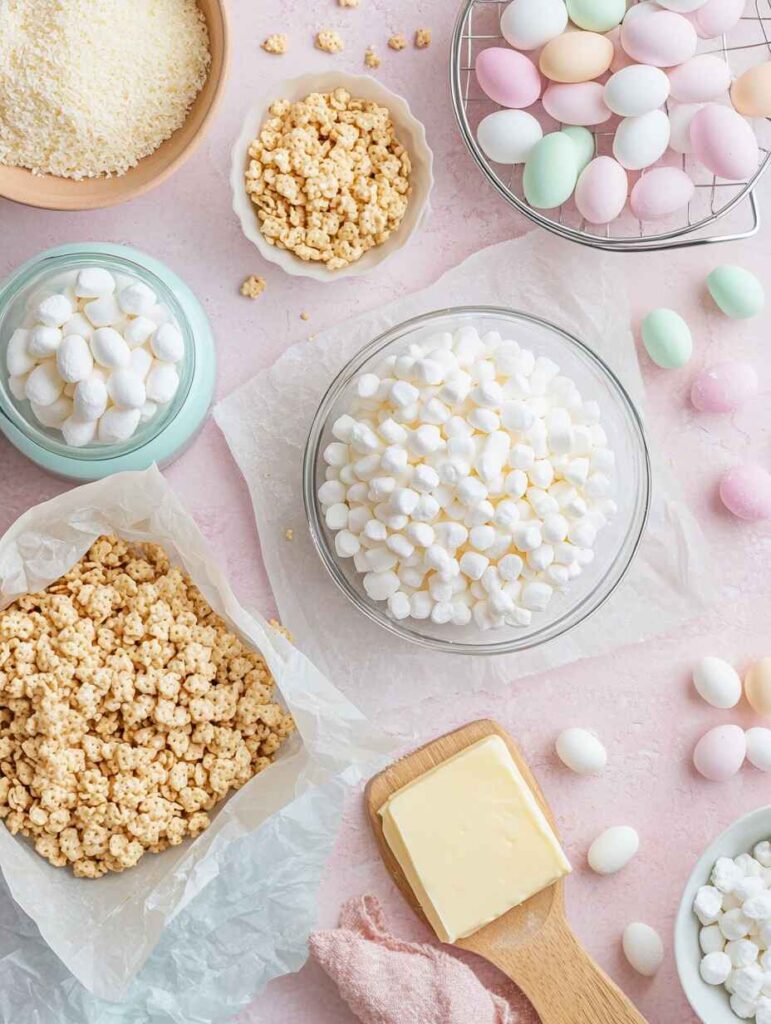
Ingredients: Rice Krispie Easter Nests
For the Nests:
| Ingredient | Quantity | Notes |
|---|---|---|
| Rice Krispies cereal | 6 cups | Or any similar puffed rice cereal |
| Mini marshmallows | 4 cups (about 40) | Use fresh marshmallows for best results |
| Unsalted butter | 3 tbsp | Or coconut oil for a dairy-free option |
| Vanilla extract | 1 tsp | Pure vanilla adds extra flavor |
For Decoration:
| Ingredient | Quantity | Notes |
|---|---|---|
| Pastel M&M’s or candies | ½ cup | For “eggs” in the nests |
| Coconut flakes | Optional | Tint green with food coloring for grass |
| Food coloring (gel) | A few drops | For colorful nests (optional) |

Instructions: Rice Krispie Easter Nests
1: Prep Your Workspace
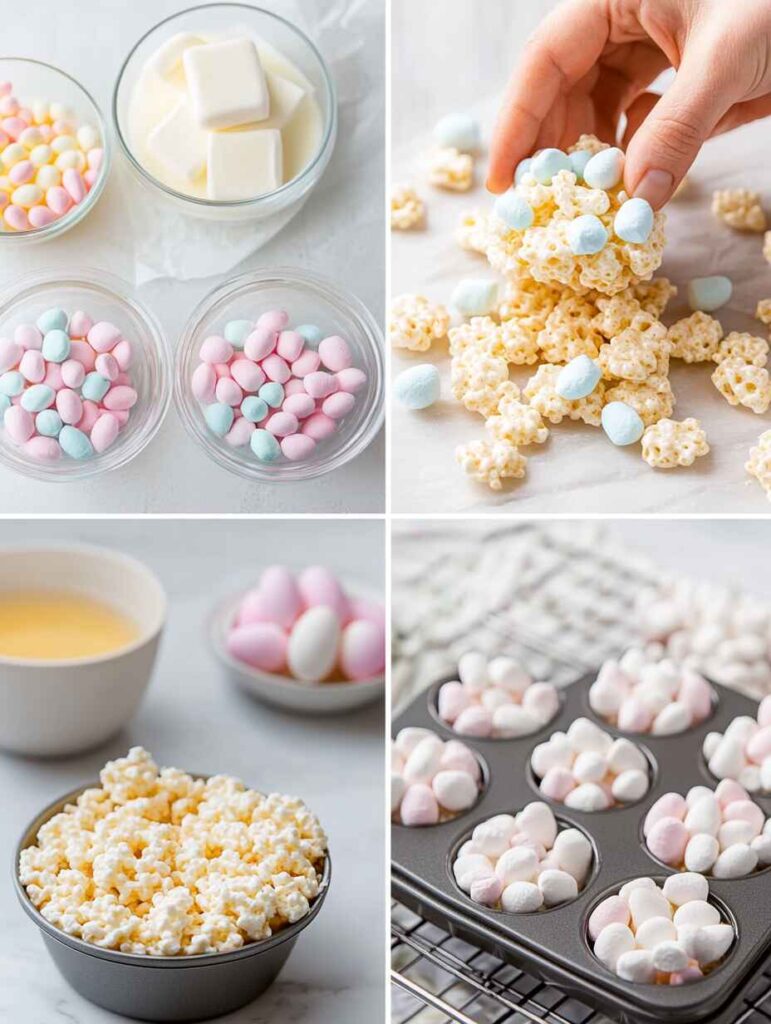
Before you start, line a muffin tin with paper liners or lightly grease it with cooking spray. This will help the nests hold their shape and make cleanup a breeze.
2: Melt the Marshmallows
- In a large saucepan over low heat, melt the butter.
- Add the mini marshmallows and stir continuously until completely melted and smooth.
- Remove from heat and stir in the vanilla extract. (Pro tip: Don’t let the mixture boil—it can make the marshmallows stiff!)
3: Combine with Rice Krispies
- Pour the melted marshmallow mixture over the Rice Krispies cereal in a large mixing bowl.
- Gently fold the cereal into the marshmallow mixture using a spatula. Be careful not to crush the cereal too much—you want those nests to be light and airy!
4: Shape the Nests
- Scoop about ⅓ cup of the mixture into each muffin cup. Use your fingers or the back of a spoon to press the mixture into a nest shape, creating a little well in the center for the “eggs.”
- Let the nests cool and set for about 15-20 minutes.
5: Decorate!
- Once the nests are firm, add a few pastel M&M’s or candy-coated chocolates to the center of each nest to resemble eggs.
- For an extra touch, sprinkle some green-tinted coconut flakes around the base of the nests to mimic grass. (To tint coconut flakes, mix them with a drop of green food coloring and shake in a sealed bag until evenly coated.)
Additional Tips & Tricks: Rice Krispie Easter Nests
Make Them Extra Festive:
- Use pastel-colored candy melts to drizzle over the nests for a pop of color.
- Add edible glitter or sprinkles for a sparkly finish.
Storage Tips:
- Store the nests in an airtight container at room temperature for up to 3 days.
- Avoid refrigerating, as the marshmallows can become sticky.
Make-Ahead Option:
- Assemble the nests but leave off the decorations until just before serving. This keeps everything looking fresh and vibrant.
Exciting Variations: Rice Krispie Easter Nests
Chocolate Lovers:
- Swap half of the Rice Krispies cereal with cocoa puffs for a chocolatey twist.
Peanut Butter Delight:
- Stir in ½ cup of creamy peanut butter with the melted marshmallows for a rich, nutty flavor.
Mini Nests:
- Use a mini muffin tin to create bite-sized nests—perfect for parties or gift baskets.

FAQ: Rice Krispie Easter Nests
Can I use large marshmallows instead of mini marshmallows?
Yes! Use 4 cups of large marshmallows, roughly chopped, to mimic the texture of mini marshmallows.
How do I prevent the nests from sticking to my fingers?
Lightly grease your hands with butter or cooking spray before shaping the nests.
Can I make these gluten-free?
Absolutely! Use gluten-free Rice Krispies cereal and ensure your marshmallows are gluten-free.
What if I don’t have a muffin tin?
No problem! Shape the nests by hand on a parchment-lined baking sheet and gently press a well into the center.
Meet the Author
“Hi there, treat enthusiast! I’m Leena, the dessert-loving creator behind leemoerecipes.com. My goal is to bring joy to your kitchen with simple, fun, and delicious recipes that anyone can make. From holiday-themed goodies to everyday treats, I’m here to inspire your inner baker. Follow along for more sweet ideas and happy baking!”
Related Recipes You May Love: Rice Krispie Easter Nests
- Classic Rice Krispie Treats: The OG inspiration for these nests.
- No-Bake Easter Bunny Bark: A quick and festive snack for spring.
- Pastel Sugar Cookies: Soft, chewy, and perfect for decorating.
- Chocolate-Dipped Pretzel Rods: Sweet and salty goodness for Easter baskets.
P.S. Clicking on those links counts as cardio, right?

Rice Krispie Easter Nests
Equipment
- Muffin Tin
- Saucepan
Ingredients
Nest Base
- 3 cups Rice Krispies cereal
- 3 tbsp butter unsalted
- 1 package marshmallows about 10 oz
Toppings
- chocolate eggs mini
- shredded coconut optional
Instructions
- Melt the butter in a saucepan over low heat.
- Add marshmallows and stir until completely melted. Remove from heat.
- Stir in Rice Krispies cereal until well coated.
- Grease a muffin tin and press the mixture into each cup, shaping into nests.
- Allow to cool and set, about 10 minutes.
- Fill each nest with mini chocolate eggs and shredded coconut, if using.
Notes
Conclusion & Call to Action: Rice Krispie Easter Nests
And there you have it—adorable Rice Krispie Easter Nests that are almost too cute to eat… almost! These treats are sure to be a hit at any Easter gathering or spring celebration. Tried the recipe? I’d love to hear how it turned out! Leave a comment below or tag me on social media—I’d adore seeing your creations. And don’t forget to check out more fun recipes on leemoerecipes.com. Happy baking, and Happy Easter!
